However, there is a major UI/UX issue with this offering from Microsoft, especially the way it deals with the installed apps. The Store app doesn’t ask you the location where you wish to install the app onto your PC. It would automatically install it onto your C drive, accessing which is quite a challenge in itself (more on that later). However, not every user wishes to bloat their system drive with these apps. Rather, a much better approach will be to install these apps to another location or drive. If you also echo this thought, then this guide is here to help you out. In this tutorial, we will show you detailed steps to change the default installation location of the Microsoft Store Apps. We will also show you how to move the already installed apps to a different location. So without any further ado, let’s get started.
Where are Microsoft Store Apps Installed in Windows 11
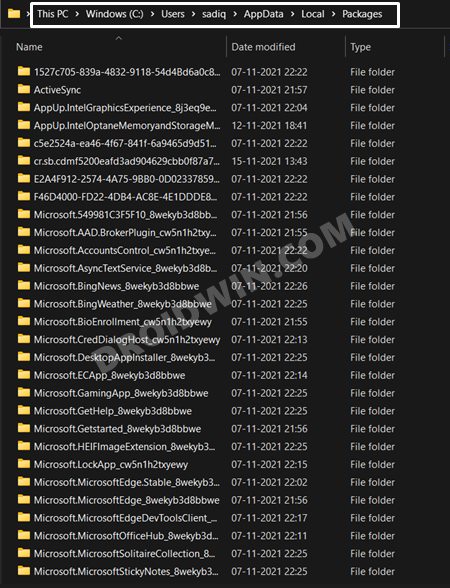
The apps that you download from the Microsoft Store are installed in either of the two locations:
While you could easily access the contents of the packages folder, the same cannot be said for the WindowsApps folder. The permission of the latter folder is under the ownership of the Trusted Installer. You will first have to transfer the ownership to your administrator account before being able to access the contents of the WindowsApps folder. To do so, you may refer to our guide on How to Open the WindowsApps Folder in Windows 11.
How to Change Default Installation Location of Microsoft Store Apps
From now on, all the apps that you download from the Store will be installed on this new drive. And with this, you have successfully changed the installation location of the Microsoft Store Apps.
Transfer Already Installed Microsoft Store Apps to New Location
Till now, all the apps that you have downloaded from the Microsoft Store will be installed in the C Drive. One way to deal with it is to uninstall those apps, carry out the steps listed above to change the default installation location, and then reinstall those apps to the new location. However, that is neither a viable nor feasible approach to carry out this task. As it will end up consuming your valuable time and bandwidth as well. Fortunately, Windows has provided a handy way to deal with this issue. You could easily move the apps installed from the Store to a new location in just a few clicks. So without any further ado, let’s check out how this could be carried out. So these were the steps to change the default installation location of the Microsoft Store Apps. Likewise, we have also listed out the steps to move the already installed apps to a new directory of your choice. If you have any queries concerning the aforementioned steps, do let us know in the comments. We will get back to you with a solution at the earliest.
How to Install (or Reinstall) Microsoft Store in Windows 10/11How to Fix Microsoft Store Not Working on Windows 10/11UWP Apps in Windows 11: Location, URI, Shortcut, UninstallHow to Open the WindowsApps Folder in Windows 11
About Chief Editor