However, there’s always an element of doubt as to which is the correct way of flashing a ROM. Well, truth be told, there’s no universal rule regarding this. You could install them via TWRP, Fastboot Commands, ADB Sideload, or some specific tools. As far as this guide goes, our focus will be on the sideload method. For the unaware, ADB Sideload is the method through which you could directly flash the ZIP file. It is different from ADB Push as the latter will only send that ZIP file to your device, whereas Sideload would send then subsequently flash that file as well. So due to the involvement of fewer steps, it has quickly become the go-to choice for many tech enthusiasts. On that note, this guide will show you the detailed steps to install and flash custom ROM on Android using this ADB Sideload method. Follow along.
How to Install Custom ROM on Android via ADB Sideload
Before starting off, do keep in mind that not every ROM could be flashed via ADB Sideload. So even if you find your ROM package in ZIP format, it doesn’t necessarily mean that it supports sideload. So I would recommend you go through the developer’s installation instructions once (you know where, hint: it has the letters X, D, A!) and double-check that their ROM supports this mode of flashing. If it does, then you may proceed ahead with the below instructions steps. Droidwin and its members wouldn’t be held responsible in case of a thermonuclear war, your alarm doesn’t wake you up, or if anything happens to your device and data by performing the below steps.
Video Guide
STEP 1: Take a Backup
If you are doing a clean flash (switching between two custom ROMs or coming from stock to custom), then a factory reset is compulsory. This will wipe all the data from your device, so please take a complete device backup beforehand. On the other hand, doing a dirty flash (updating your ROM) doesn’t always call for a reset, but it is still highly recommended to take a backup. This is because you never know when things might go south in custom development!
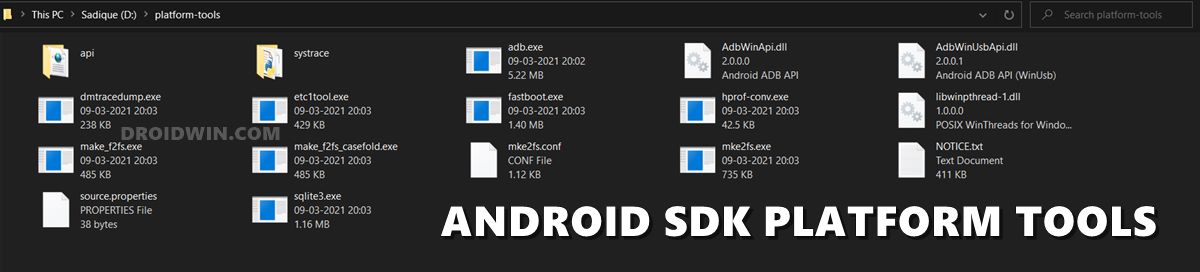
STEP 2: Install Android SDK
First and foremost, you will have to install the Android SDK Platform Tools on your PC. This is the official ADB and Fastboot binary provided by Google and is the only recommended one. So download it and then extract it to any convenient location on your PC. Doing so will give you the platform-tools folder, which will be used throughout this guide to install Custom ROM via ADB Sideload.
STEP 3: Download Custom ROM
STEP 4: Enable USB Debugging and OEM Unlocking
Next up, you will have to enable USB Debugging and OEM Unlocking on your device. The former will make your device recognizable by the PC in ADB mode. This will then allow you to boot your device to Fastboot Mode. On the other hand, OEM Unlocking is required to carry out the bootloader unlocking process.
So head over to Settings > About Phone > Tap on Build Number 7 times > Go back to Settings > System > Advanced > Developer Options > Enable USB Debugging and OEM Unlocking.
STEP 5: Unlock Bootloader
Next up, you will also have to unlock the device’s bootloader. Do keep in mind that doing so will wipe off all the data from your device and could nullify its warranty as well. So if that’s all well and good, then please refer to our detailed guide on How to Unlock the Bootloader of any Android Device. In short, it is usually either of the two below commands that should do the job:
STEP 6: Install/Boot to TWRP Recovery
While most of you might already be aware of this fact, I still want to re-iterate it: using the ADB Sideload feature requires you to have a custom recovery installed. While stock recovery also has the sideload option, that could only be used to install official OTA and firmware. For installing custom ROMs, you will always need to use a custom recovery’s ADB Sideload feature. So on that note, do check out our guide on How to Install TWRP Recovery on Android. Or refer to the below shorter instructions:
STEP 7: Format Data/Wipe
Factory Reset is a must if you are coming from another custom ROM or stock firmware. However, different ROMs have diverse approaches regarding this. While some of them would ask for a factory reset of the device, others would tell you to wipe the Data partition (and also the System partition in some instances). So please double-check the ROM instruction page and then you may refer to the below instructions:
TWRP Format Data
TWRP Factory Reset
STEP 8: Flash Custom ROM via ADB Sideload
So with this, we conclude the guide on how you could install or flash a custom ROM on your Android device via ADB Sideload. If you have any queries concerning the aforementioned steps, do let us know in the comments. We will get back to you with a solution at the earliest.
About Chief Editor


![]()

