Due to reasons best known to them, they straightaway blocked the ability to unlock the device’s bootloader. As a result, flashing custom ROMs, recoveries, and mods all proved to be a distant dream. But thanks to the open-source nature of this OS, developers were able to find the exploit and did manage to unlock the bootloader of Nokia 6.2 and 7.2. Making full use of the same, this guide will make you aware of the instructions to root the Nokia 6.2 device via Magisk patched boot.img file. Follow along.
Benefits and Risks of Rooting
Once you root your device by flashing the Magisk patched boot.img via Fastboot Commands, you will be in a position to try out a plethora of customizations on your device. These include the likes of flashing custom ROMs, installing a custom recovery like TWRP, or flashing a custom kernel. Along the same lines, you could also flash Magisk Modules, Xposed Framework, Substratum Themes, Viper4Android, and the likes. However, this is just one side of the story.
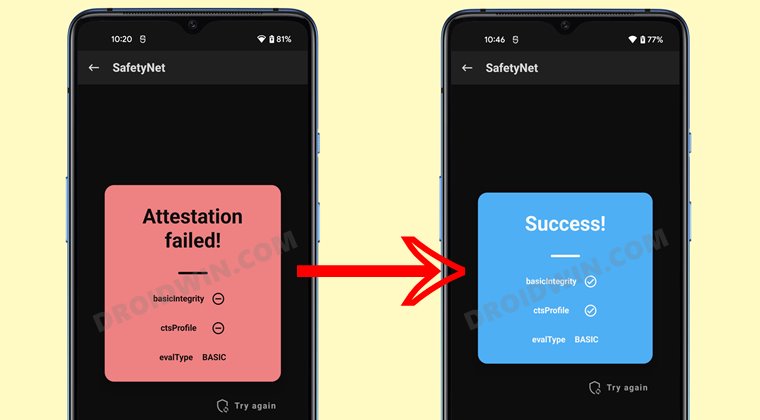
Carrying out this process also has its downsides. First off, the process requires an unlocked bootloader. Doing so will wipe off all the data and could nullify the device’s warranty as well. Likewise, WideVine L1 will be degraded to L3, resulting in the inability to stream Netflix in HD [FIXED]. Then the SafetyNet will be triggered, which might cause issues with banking apps [FIXED]. So if all that’s well and good, then let’s get started with the steps to root Nokia 6.2 via Magisk.
How to Root Nokia 6.2 via Magisk Patched Boot.img
The below instructions are listed under separate sections for ease of understanding. Make sure to follow in the exact same sequence as mentioned below. Droidwin and its members wouldn’t be held responsible in case of a thermonuclear war, your alarm doesn’t wake you up, or if anything happens to your device and data by performing the below steps.
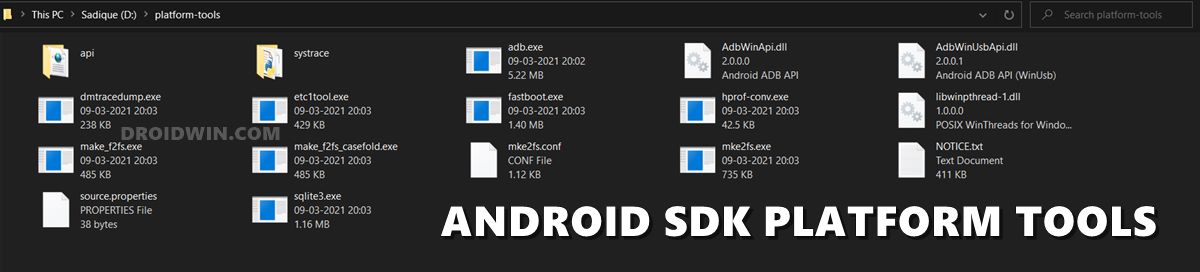
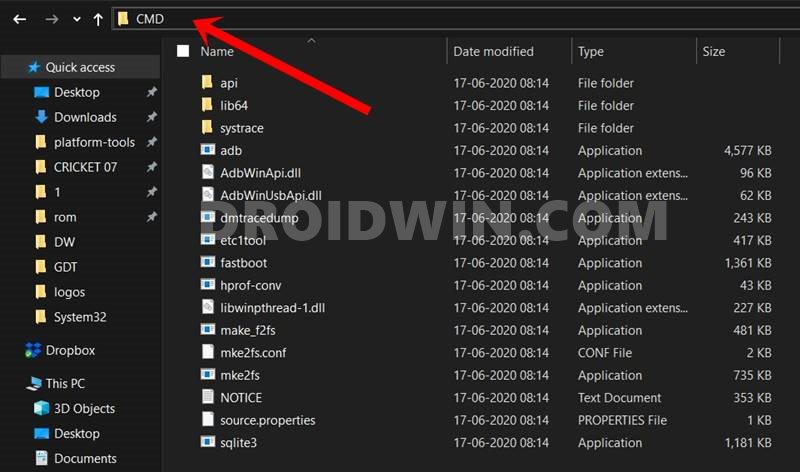
STEP 1: Install Android SDK
To begin with, install the Android SDK Platform Tools on your PC. This is the official ADB and Fastboot binary provided by Google and is the only recommended one. So download it and then extract it to any convenient location on your PC. Doing so will give you the platform-tools folder, which will be used throughout this guide.
STEP 2: Enable USB Debugging and OEM Unlocking
Next up, you will have to enable USB Debugging and OEM Unlocking on your device. The former will make your device recognizable by the PC in ADB mode. This will then allow you to boot your device to Fastboot Mode. On the other hand, OEM Unlocking is required to carry out the bootloader unlocking process.
So head over to Settings > About Phone > Tap on Build Number 7 times > Go back to Settings > System > Developer Options > Enable USB Debugging and OEM Unlocking.
STEP 3: Unlock Bootloader on Nokia 6.2
While the OEM did its best to prevent us from unlocking the device’s bootloader but the developers, as usual, were a step ahead. They did manage to find a rather ‘official’ (and free) workaround through which you could easily carry out this task. So refer to our guide on How to Unlock the Bootloader on Nokia 6.2. Do keep in mind that this process will wipe off all the data from your device, so please take a backup beforehand.
STEP 4: Extract Nokia 6.2 Boot.img from Payload.bin
STEP 5: Patch Nokia 6.2 Stock Boot.img via Magisk
STEP 6: Boot Nokia 6.2 to Fastboot Mode
STEP 7: Boot Nokia 6.2 via Patched Boot.img
Rather than directly flashing the patched boot.img, we will first boot your device via this file. This will give you the temporary root. Then if everything is working well and good in this environment, you could proceed ahead with the steps to permanently root your Nokia 6.2 via Magisk.
STEP 8: Root Nokia 6.2 via Magisk Patched Boot.img
That’s it. These were the steps to root Nokia 6.2 via Magisk. If you have any queries concerning the aforementioned steps, do let us know in the comments. We will get back to you with a solution at the earliest. However, if you are still stuck in Fastboot, then transfer the stock boot.img to the platform-tools folder and use the fastboot flash boot boot.img command to manually flash the file. This shall rectify the issue.
About Chief Editor