The open-source nature of Android beholds a plethora of customizations. To begin with, you could unlock the device’s bootloader, install custom ROMs like Pixel Experience, AOSP, etc and install a custom recovery like TWRP, LinegeageOS among others. Along the same lines, you could even gain administrative rights or access to the system partition. The latter is also known as rooting a device. Earlier SuperSU was the preferred tool to root your device. But the biggest issue was the fact that it made direct changes to the system partition. However, with Magisk, things stand different, and for good. It carries out the entire tasks ‘systemlessly’, that is without making any modification to the system partition. Furthermore, it regularly gets updated. And as of now, the latest Magisk v8.0.2 is now live with tons of new features. Most importantly, it is now fully supported on devices running the latest Android 11. Now that rooting isn’t just limited to the tech enthusiasts (refer to our survey for surprising results: Rooting Poll: Is it Worth the Risk? You Decide and let us know), this guide is going to help the newcomers as well. With that said, here are the steps to root Pixel 2 or 2 XL, running the latest Android 11, without using TWRP.
How to Disable DM-Verity or Android Verified Boot without TWRP.Everything About Magisk- Manager, Modules and MoreBest Magisk Modules of 2020 [PART-1]Patch Stock Boot Image via Magisk and Flash it using Fastboot
How to Root Pixel 2 and 2XL running Android 11 without TWRP
before we begin with the instructions steps, there are a few requirements that you need to meet. Please go through the prerequisites section and make sure you checkmark all the necessities.
Prerequisites
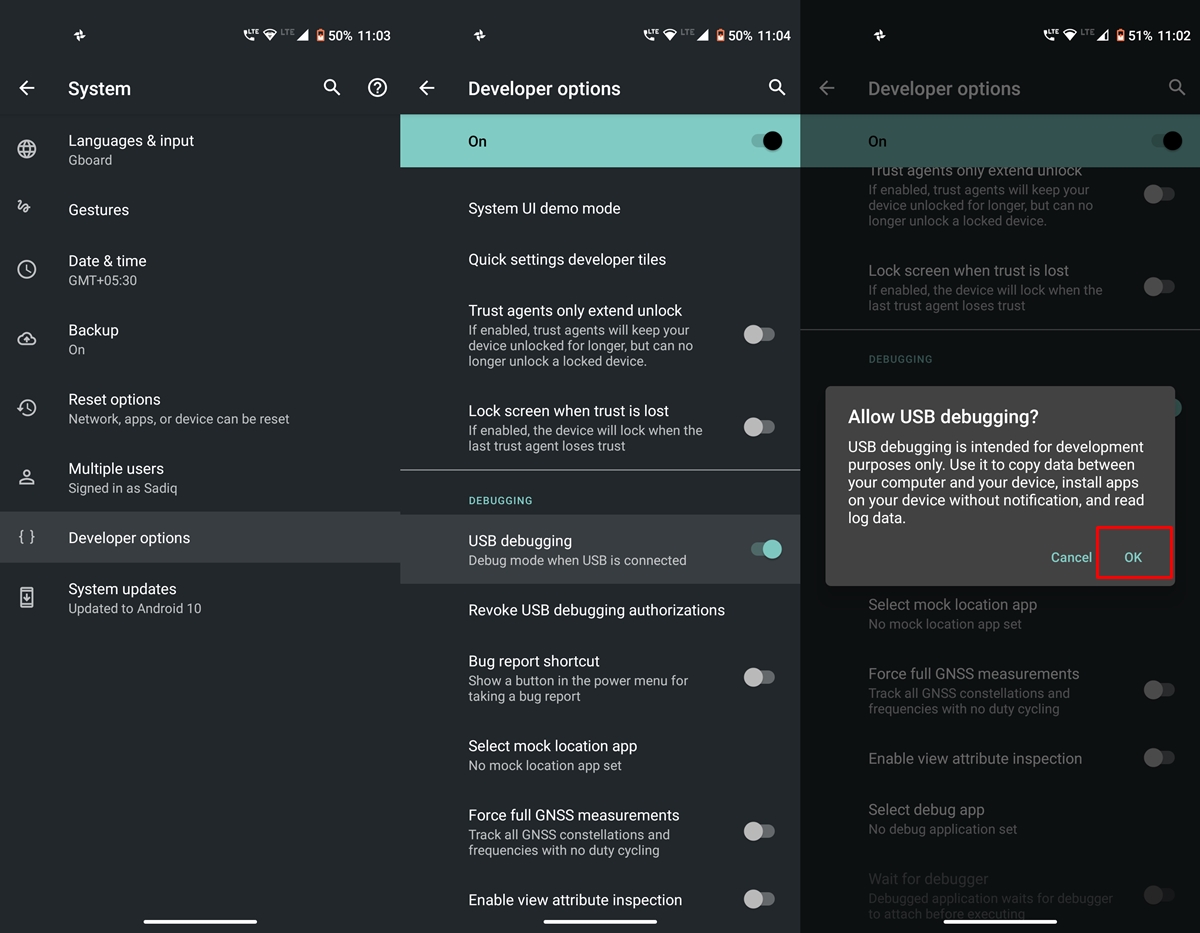
First and foremost, you need to unlock the device’s bootloader. If you haven’t done, then refer to our detailed guide on How to Unlock Bootloader Of Google Pixel DevicesNext up you will also have to enable USB Debugging. This will be needed to boot the device to Fastboot Mode. So head over to Settings > About Phone > Tap on Build Number 7 times > Go back to Settings > System > Advanced > Developer Options > Enable USB Debugging. [Don’t Miss: Enable USB Debugging on a Broken Android Device’s Screen? Here’s a Workaround]. You will also have to install the Android SDK Platform Tools. This will provide the necessary ADB and Fastboot binaries.Finally, download the latest Magisk Manager v 8.0.2. You don’t need to download the Magisk ZIP File, only the Magisk Manager APK is required.
That’s it. You may now proceed with the steps to root Pixel 2 or 2 XL, running the latest Android 11, without using TWRP.
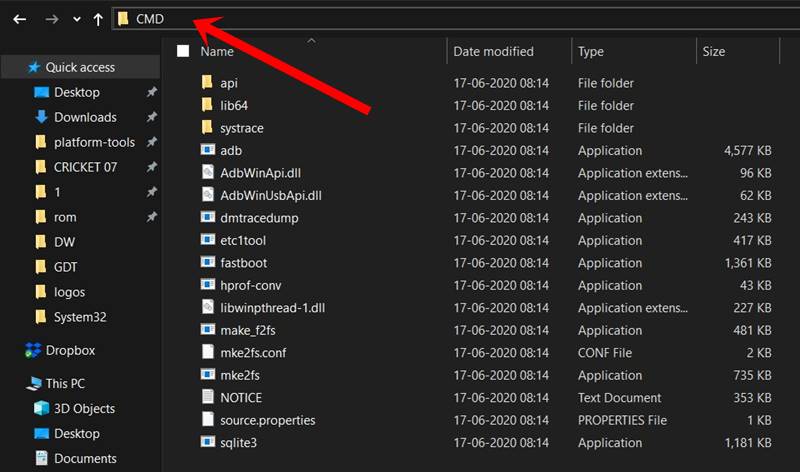
STEP 1: Extract Stock boot.img
To begin with, download the stock boot.img file corresponding to the firmware version installed on your Pixel device. For that, download the stock firmware for your Pixel device from Google’s website. If you are going to download the OTA package then upon extraction you will find the payload.bin file. In that case, refer to our guide on How to Extract payload.bin and get the stock boot image file.
On the other hand, if you download the factory image, then you will find a couple of files, including a zipped image file. You will have to decompress that file and there you will find the stock boot image file.
[GUIDE] Flash ROMs/Magisk/TWRP/Kernels on A/B Partition DevicesHow to Flash Various Files in A/B Partition DevicesInstall Custom ROMs on any Android Device- Includes A/B PartitionHow to Fix FAILED (remote: unknown command) Error
STEP 2: Patch Stock Boot.img file
UPDATE 1: Quite a few Android 11 users are facing issues while patching the stock boot.img file via Magisk manager. Well, I have found the fix to this issue, please refer to our detailed guide on the same: Fix Magisk patched boot.img issue while Rooting Android 11. If you wish to save a click, then here’s the explanation in short: You have to install the Magisk Canary build instead of the stable and then change the update channel to Canary from within the app itself. Once you have done the said change, you may then proceed with the below steps to patch the stock boot image file using Magisk and flash it via Fastboot commands to root Pixel 2 or 2 XL running Android 11.
STEP 3: Flash Patched Boot.img file via Fastboot
In this final section, you just have to flash this patched boot.img file to root the Pixel 2 or 2 XL, running the latest Android 11, without using TWRP. That’s it. With this, we conclude the guide on how to root Pixel 2 and 2 XL, running the latest Android 11, without using TWRP. If you have any queries, do let us know in the comments section below We will get back to you with a solution as soon as possible.
Fix TWRP Error 7 (While Flashing Custom ROM via TWRP)How to Fix FAILED (remote: unknown command) ErrorHow to Permanently Install TWRP without TWRP ZIP File (only using TWRP.img file)Root Android Devices Without TWRP Recovery
About Chief Editor
![]()
![]()
![]()