From the likes of highly customizable HavocOS to the one providing Pixel goodies in the form of Pixel Experience, or the one that provides the equilibrium in the performance or stability domain, or even the barebone AOSP ROMs like ArrowOS, there’s a plethora of custom ROMs that you could try out. As far as the benefits of these ROMs are concerned, there are quite a few. First off, is the truckload of new features that you would be getting. Apart from that, you will be also be welcoming new iterations of Android OS, even if the official update cycle has reached its end. Well, popular devices might even get support for up to 5 years! And for that to happen, developers releases update at regular intervals. Depending on the schedule you end up choosing, you might get daily updates via nightly schedules or stable updates at regular intervals. However. this is where the confusion seems to arise for many. Since there is no direct or straightforward approach to update a Custom ROM on Android, users are generally left in the lurch as to which method should they opt for. if you are also surrounded by this element of uncertainty, then this guide shall help you out. In this tutorial, we will show you five different methods through which you could carry out this task. Follow along.
How to Update Custom ROM in Android [5 Methods]
Generally, you could directly update ROM via dirty flash i.e. without performing a factory reset or wiping the data partition. But still, it is recommended to go through the ROM development page once and check if the developer has explicitly asked to format or not. However, if you are upgrading ROM from one Android version to another, (say from LineageOS 18 to 19/Android 11 to 12), then factory reset is highly recommended (even if the developer hasn’t mentioned it). Droidwin and its members wouldn’t be held responsible in case of a thermonuclear war, your alarm doesn’t wake you up, or if anything happens to your device and data by performing the below steps.
METHOD 1: Via OTA Update
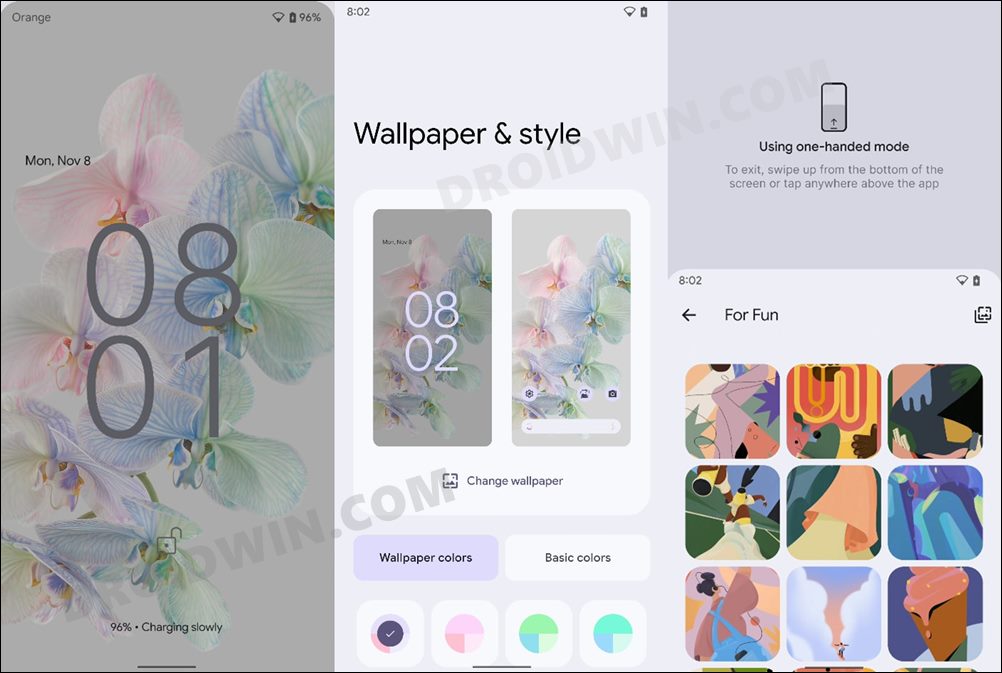
This is the easiest and most preferred way of updating custom ROMs. All you need to do is head over to Setting > System and download and install the pending update. Then restart your device and it shall boot up with the newly installed OS. However, there’s just one issue- not every ROM supports OTA updates, so in that case, you might have to take the help of our other methods listed below.
METHOD 2: Via Fastboot Command
If your ROM update file comes as a flashable ZIP, then you could directly flash it via Fastboot Commands. Here’s how:
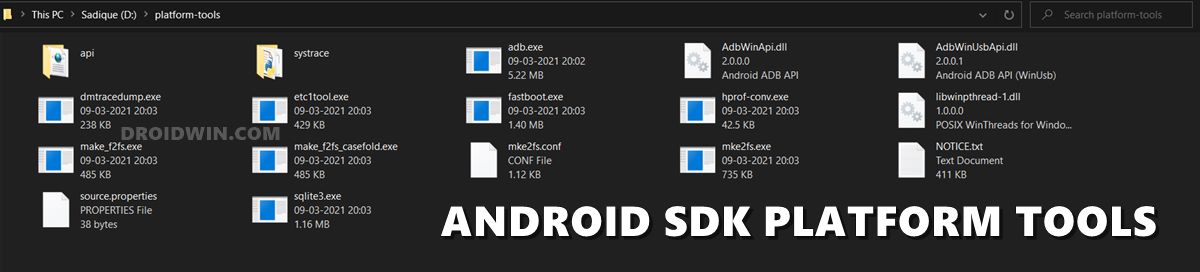
STEP 1: Install Android SDK
First and foremost, you will have to install the Android SDK Platform Tools on your PC. This is the official ADB and Fastboot binary provided by Google and is the only recommended one. So download it and then extract it to any convenient location on your PC. Doing so will give you the platform-tools folder, which will be used throughout this guide.
STEP 2: Enable USB Debugging
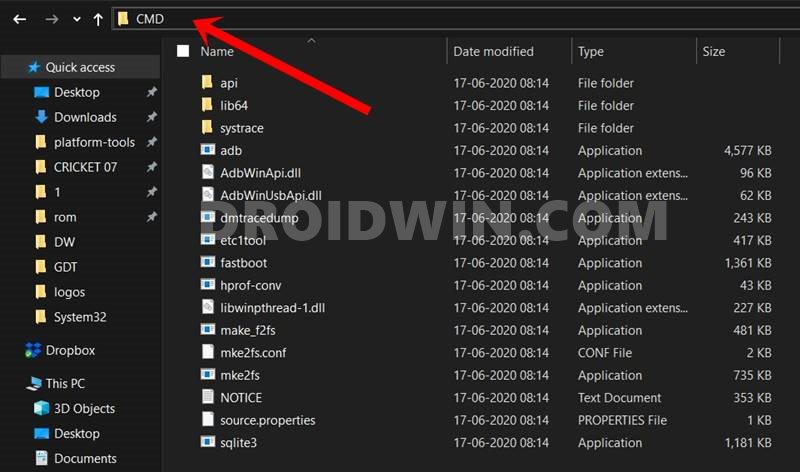
Next up, you will have to enable USB Debugging so that your device is recognizable by the PC in ADB mode. This will then allow you to boot your device to Fastboot Mode. So head over to Settings > About Phone > Tap on Build Number 7 times > Go back to Settings > System > Advanced > Developer Options > Enable USB Debugging.
STEP 3: Boot to Fastboot Mode
STEP 4: Update ROM via Fastboot Command
METHOD 3: Via Custom ROM’s Recovery
Nowadays, many custom ROMs come with their own custom recovery (such as Lineage Recovery, Pixel Experience Recovery, etc). So you could use this recovery to update your ROM. Here’s how:
METHOD 4: Via TWRP Recovery
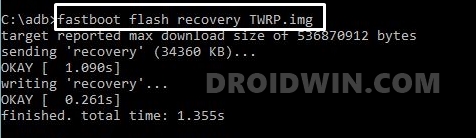
If your custom ROM doesn’t have its own recovery, then you could also use the TWRP Recovery to update the ROM. In this regard, most of you might already be having TWRP installed onto your device as this recovery is needed to flash the custom ROM in the first place. However, there do exist a few ROMs that could be flashed without TWRP, only by using Fastboot Commands. If you are also currently using this ROM and don’t have a recovery installed, then you will first have to either install TWRP or temporary boot to it. After that, you may use that recovery to perform the upgrade. [Recommended Guides: How to Install TWRP Recovery on Android | TWRP: fastboot flash vs fastboot boot: Which command to use].
METHOD 5: Via ADB Sideload
ADB Sideload is a handy method to directly install a ZIP file over to your device (and hence is generally preferred over adb push command). And as of now, we will be using this method to update Custom ROM in Android. Here’s how: So these were the five different methods through which you could update a custom ROM in Android. If you have any queries concerning the aforementioned steps, do let us know in the comments. We will get back to you with a solution at the earliest.
How to Flash Custom ROMs in Android using Web BrowserHow to Flash a Custom ROM without TWRP RecoveryFlash Custom ROM After Wiping Internal Storage Without SD Card or OTGHow to Fix No WiFi, Calls, Network after Root or Custom ROMHow to Fix TWRP Error 7 (While Flashing Custom ROM via TWRP)
About Chief Editor