In the earlier iterations of Pixel devices [or any other device for that matter], you needed to patch the stock boot.img and then flash it to the boot partition via Fastboot Command. However, with the Pixel 7/Pro, you will now have to patch the init_boot and subsequently flash it in the init_boot partition of your device. However, if a user ends up patching the boot.img instead of init_boot [or patch & flash an incorrect version of init_boot.img], then a bootloop or softbrick device is on the cards. Fortunately, you could easily rectify this issue of Pixel 7/Pro being stuck in Fastboot after rooting it via Magisk. And in this guide, we will show you how to do just that. So without further delay, let’s bring your device back to life!
Fix Pixel 7/Pro stuck in Fastboot after Root
The below instructions are listed under separate sections for ease of understanding. Make sure to follow the same sequence as mentioned. [Furthermore, make sure that your device’s bootloader is unlocked beforehand]. Droidwin and its members wouldn’t be held responsible in case of a thermonuclear war, your alarm doesn’t wake you up, or if anything happens to your device and data by performing the below steps.
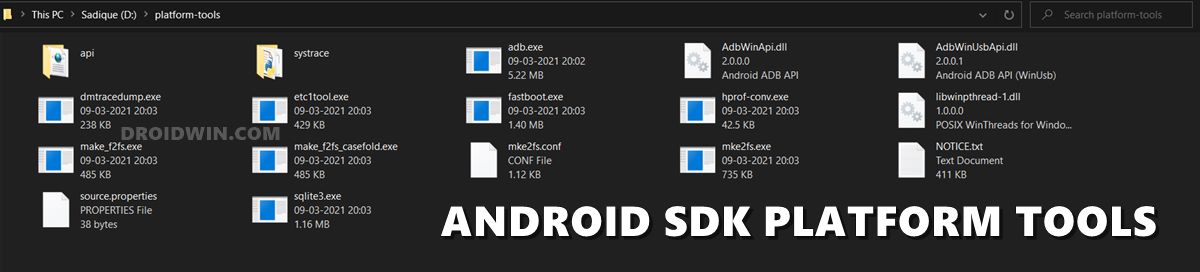
STEP 1: Install Android SDK
First and foremost, you will have to install the Android SDK Platform Tools on your PC. This is the official ADB and Fastboot binary provided by Google and is the only recommended one. So download it and then extract it to any convenient location on your PC. Doing so will give you the platform-tools folder, which will be used throughout this guide.
STEP 2: Get Pixel 7/Pro Init_Boot.img
STEP 3: Boot Pixel 7/Pro Fastboot Mode
You will now have to boot your device to the Fastboot Mode. In most cases, as soon as the device is soft-bricked it automatically gets booted to Fastboot. However, if your device is stuck in a bootloop, then let it drain the battery so that the device gets powered off. Then connect your device to the charger and as soon as you do so, press and hold the Power and Volume Down keys. Your device will be booted to Fastboot.
STEP 4: Flash Init_Boot.img and Boot.img
Execute the following two commands in the CMD window to flash the init_boot.img and boot.img files to their respective partitions. Finally, type in the below command to boot your device to the OS: While using the above flashing commands will automatically flash the files to both slots, however, in some instances, you might want to manually specify the slots. For that, you could use the following commands:
Flash init_boot.img to Both Slots:
Flash boot.img to Both Slots:
That’s it. These were the steps to fix the issue of Pixel 7/Pro being stuck in the Fastboot Mode after rooting it via Magisk. If you have any queries concerning the aforementioned steps, do let us know in the comments section below. We will get back to you with a solution at the earliest.
Root Pixel 7/Pro via Magisk Patched Init_BootHow to Install OTA Updates on Rooted Pixel 7/Pro [3 Methods]Flash Firmware on Pixel 7/Pro via Fastboot [2 Methods]How to Unbrick Pixel 7/Pro via Fastboot [2 Methods]
About Chief Editor
![]()
![]()
![]()
![]()
